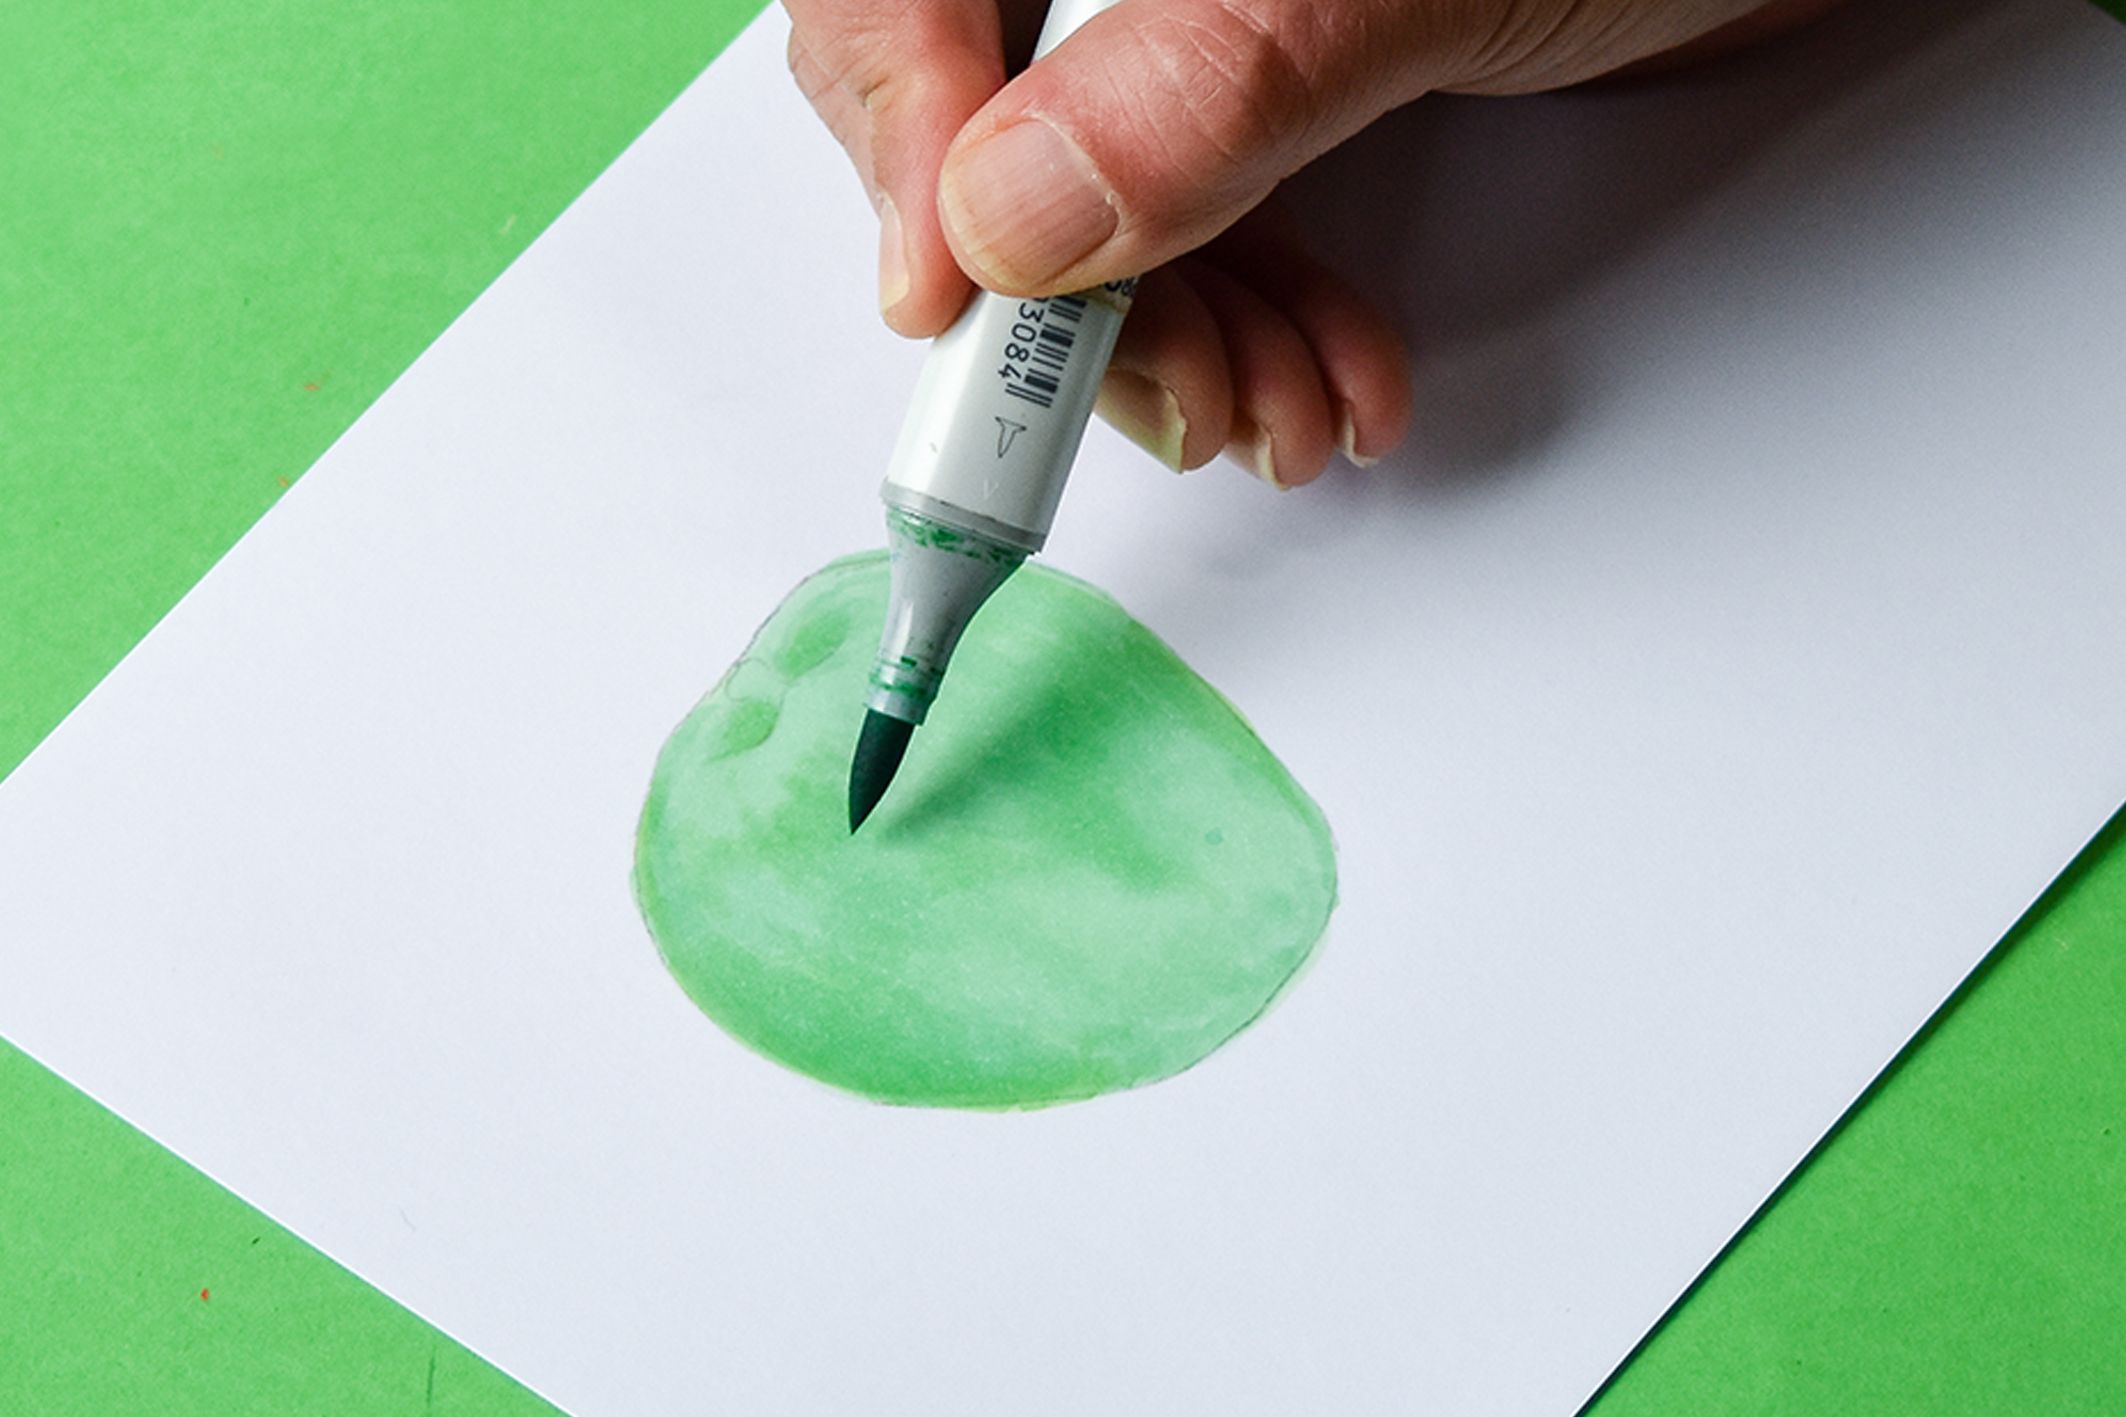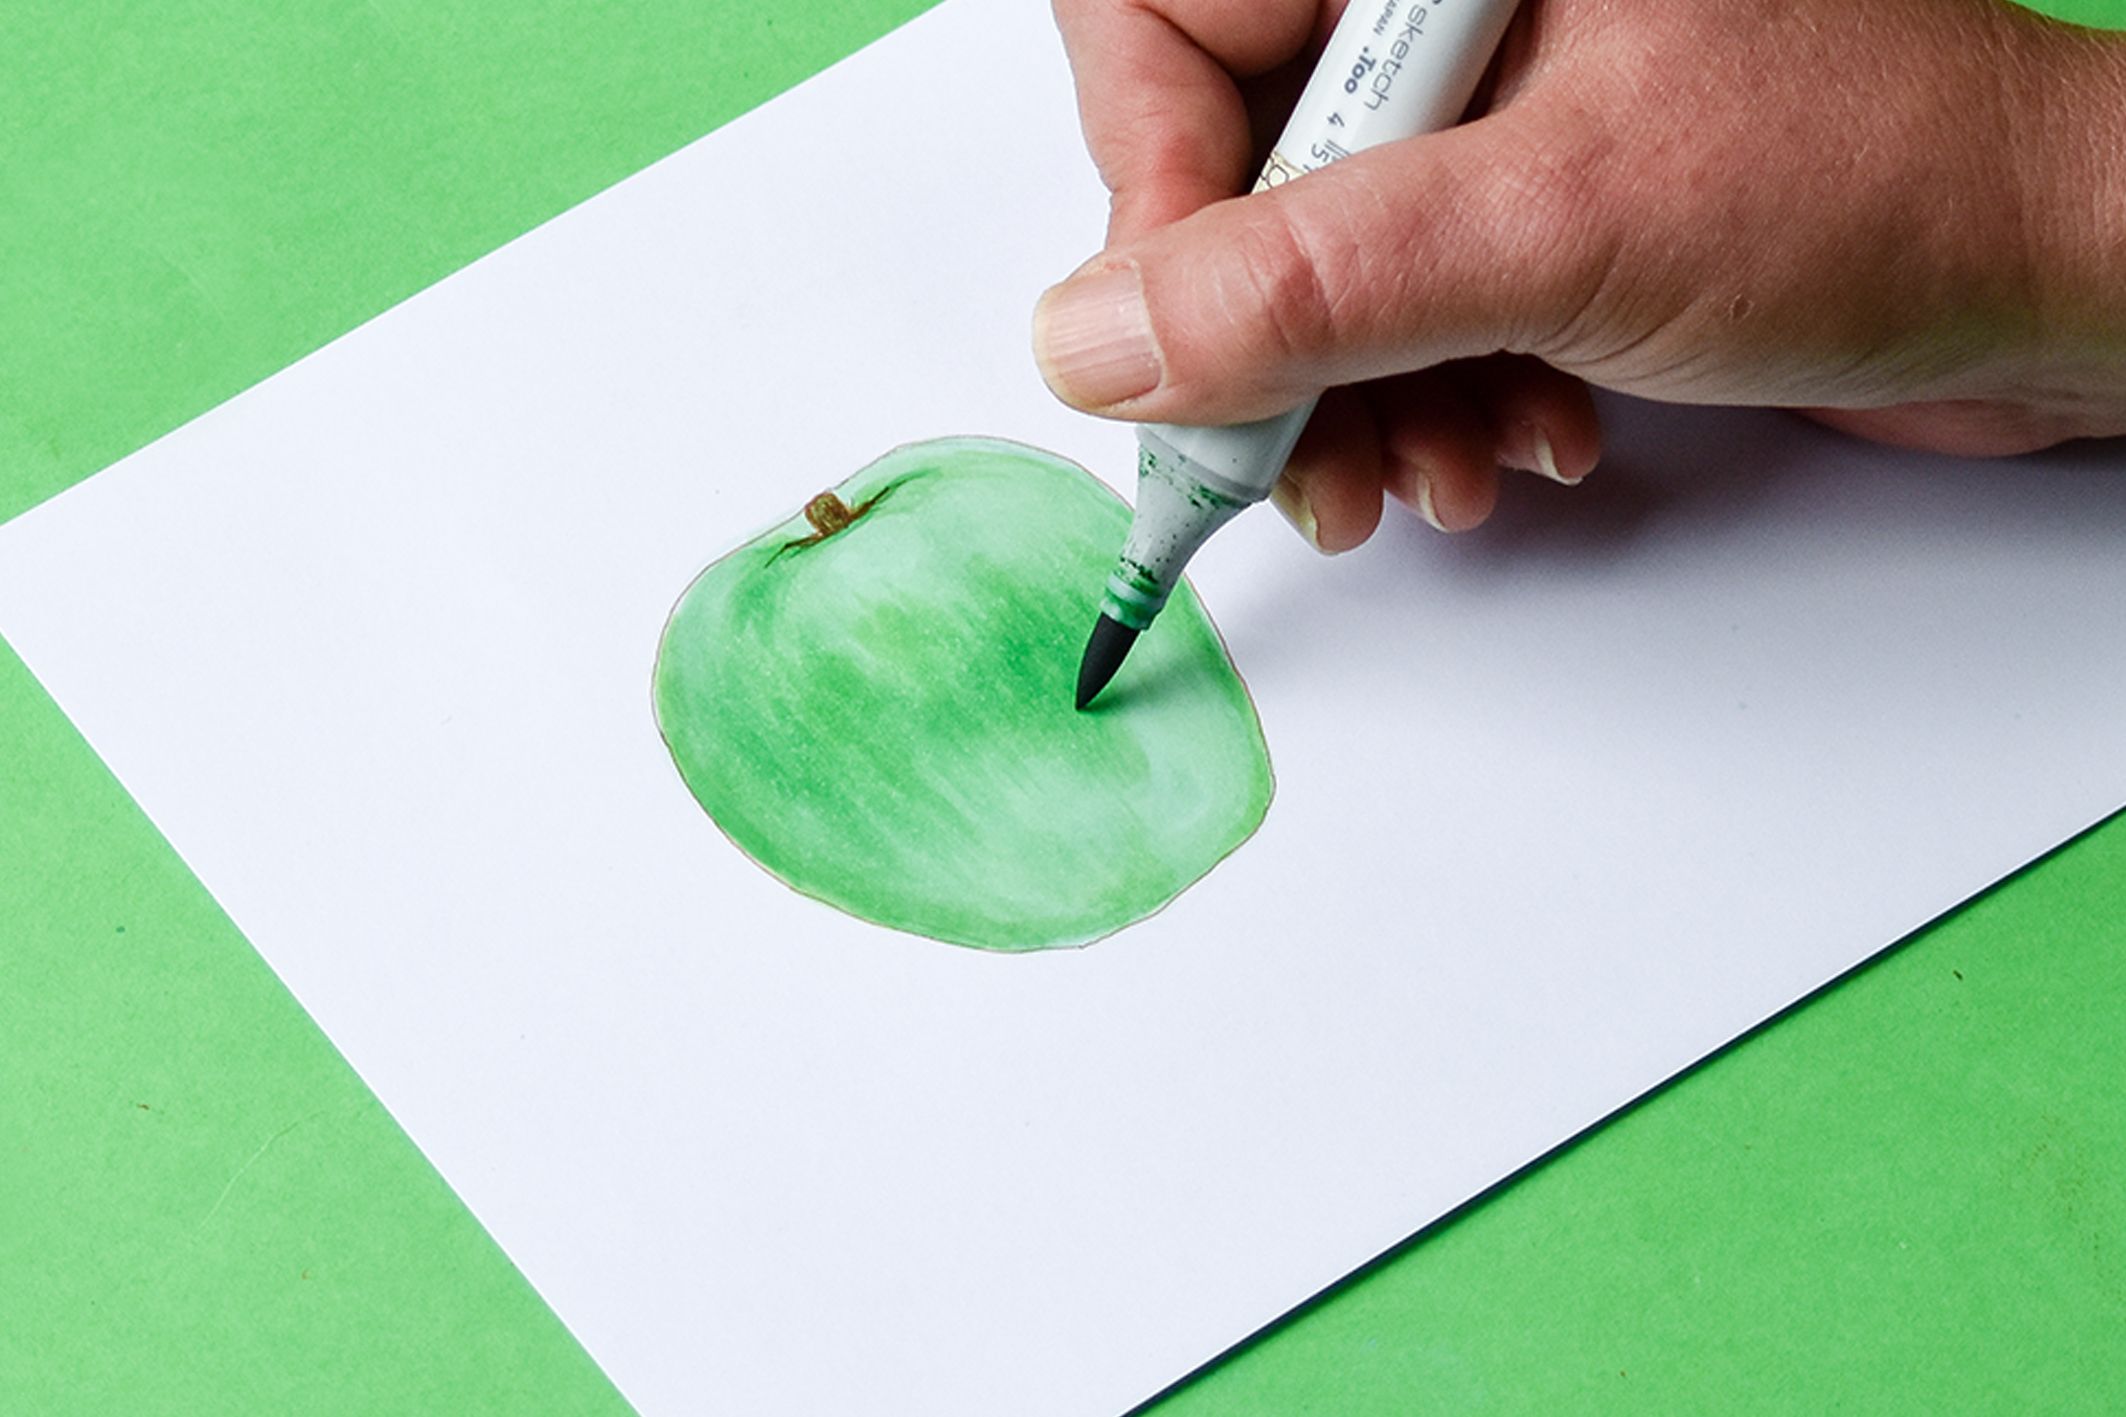
Natural Blending Group:
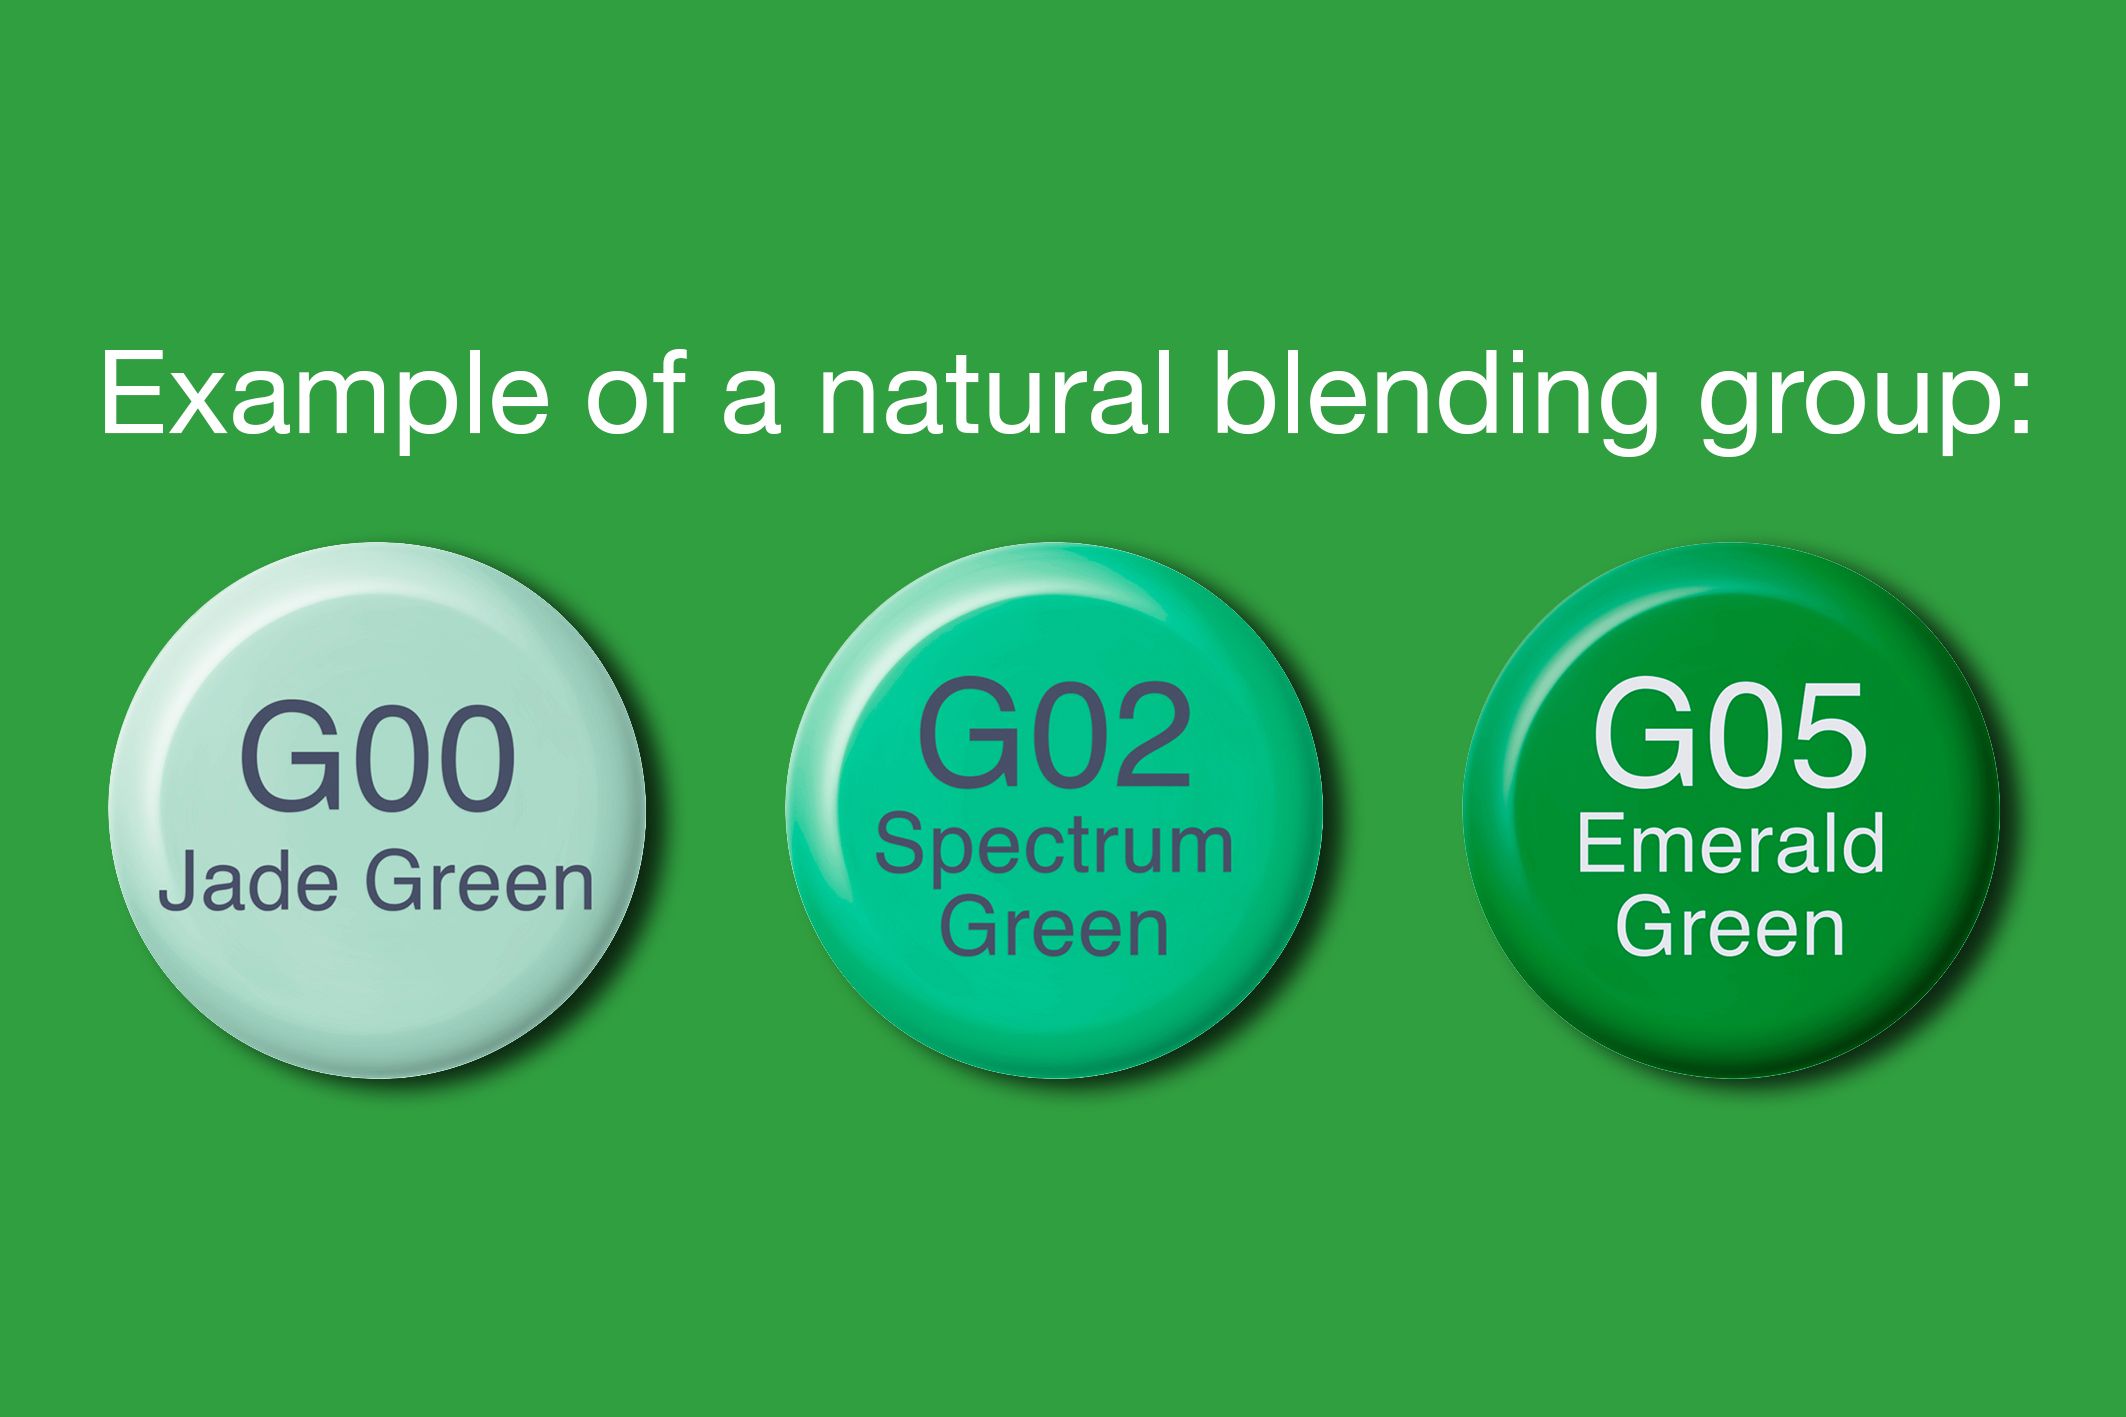
A natural blending group consists of Copic markers that have the same letter, same first number, and a few digits difference in the last number. If you would like more information on understanding the Copic colour System and what colours should I choose? Click here to view our blog.
Basic Blending:
Any lighter shade will move the pigment of a darker shade around. When blending always use the lighter shade to blend. To do basic blending follow the below steps:
Step 1: Pick three Copic colours that form a natural blending group. In our example, we are using G00 / G02 / G05.
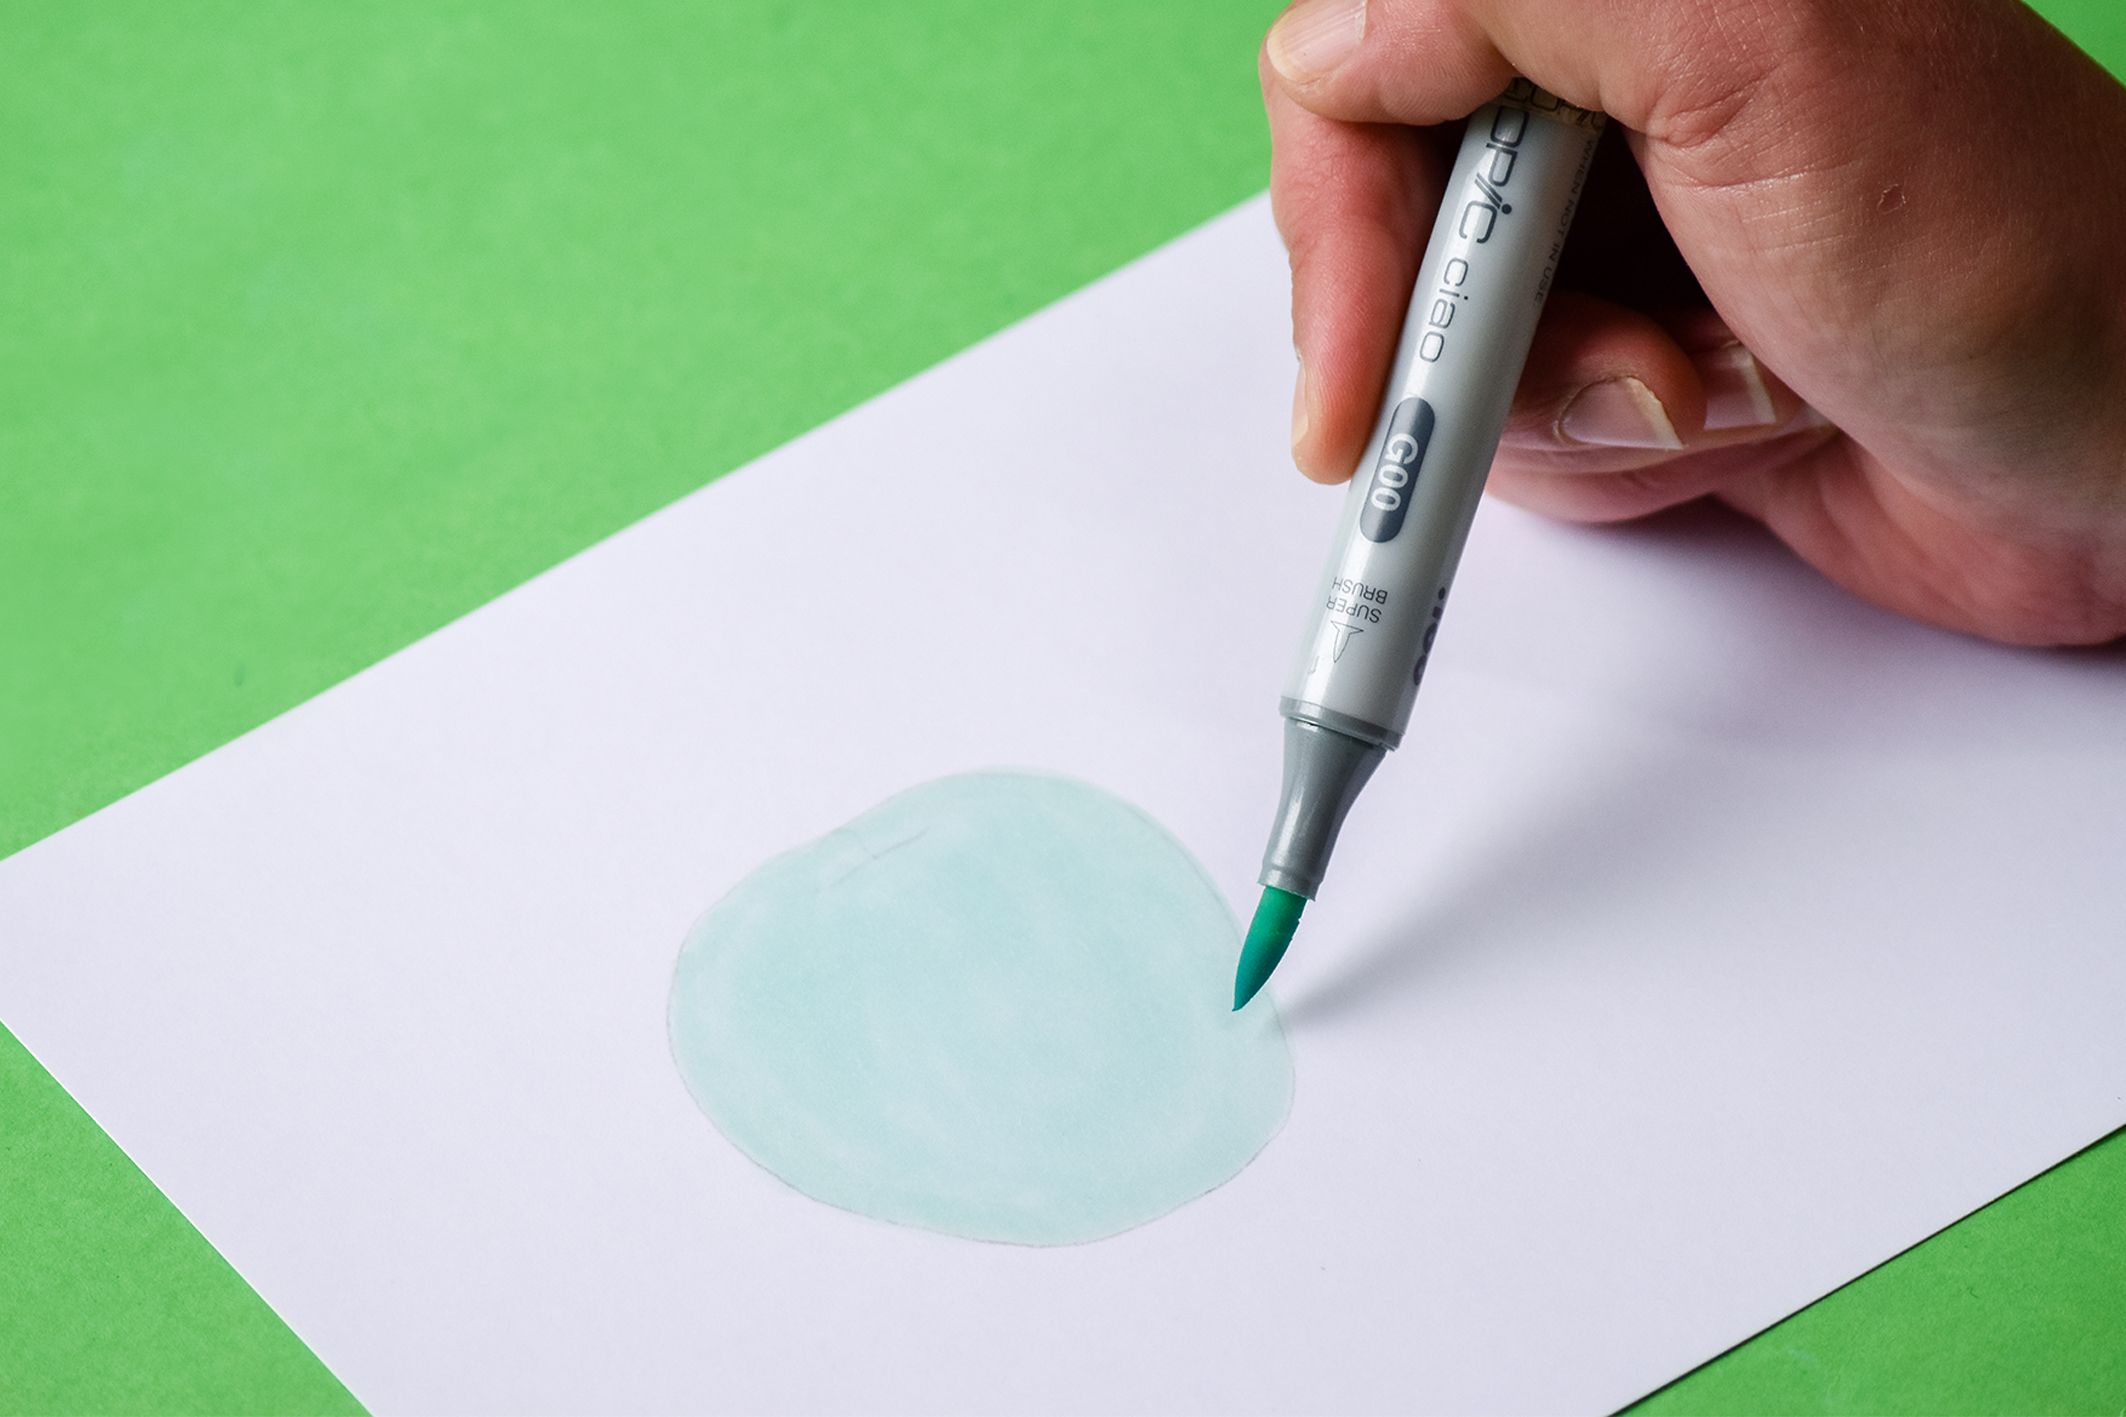
Step 2: Colour the area with the lightest shade (G00). This will help saturate the paper and allow for easier blending.
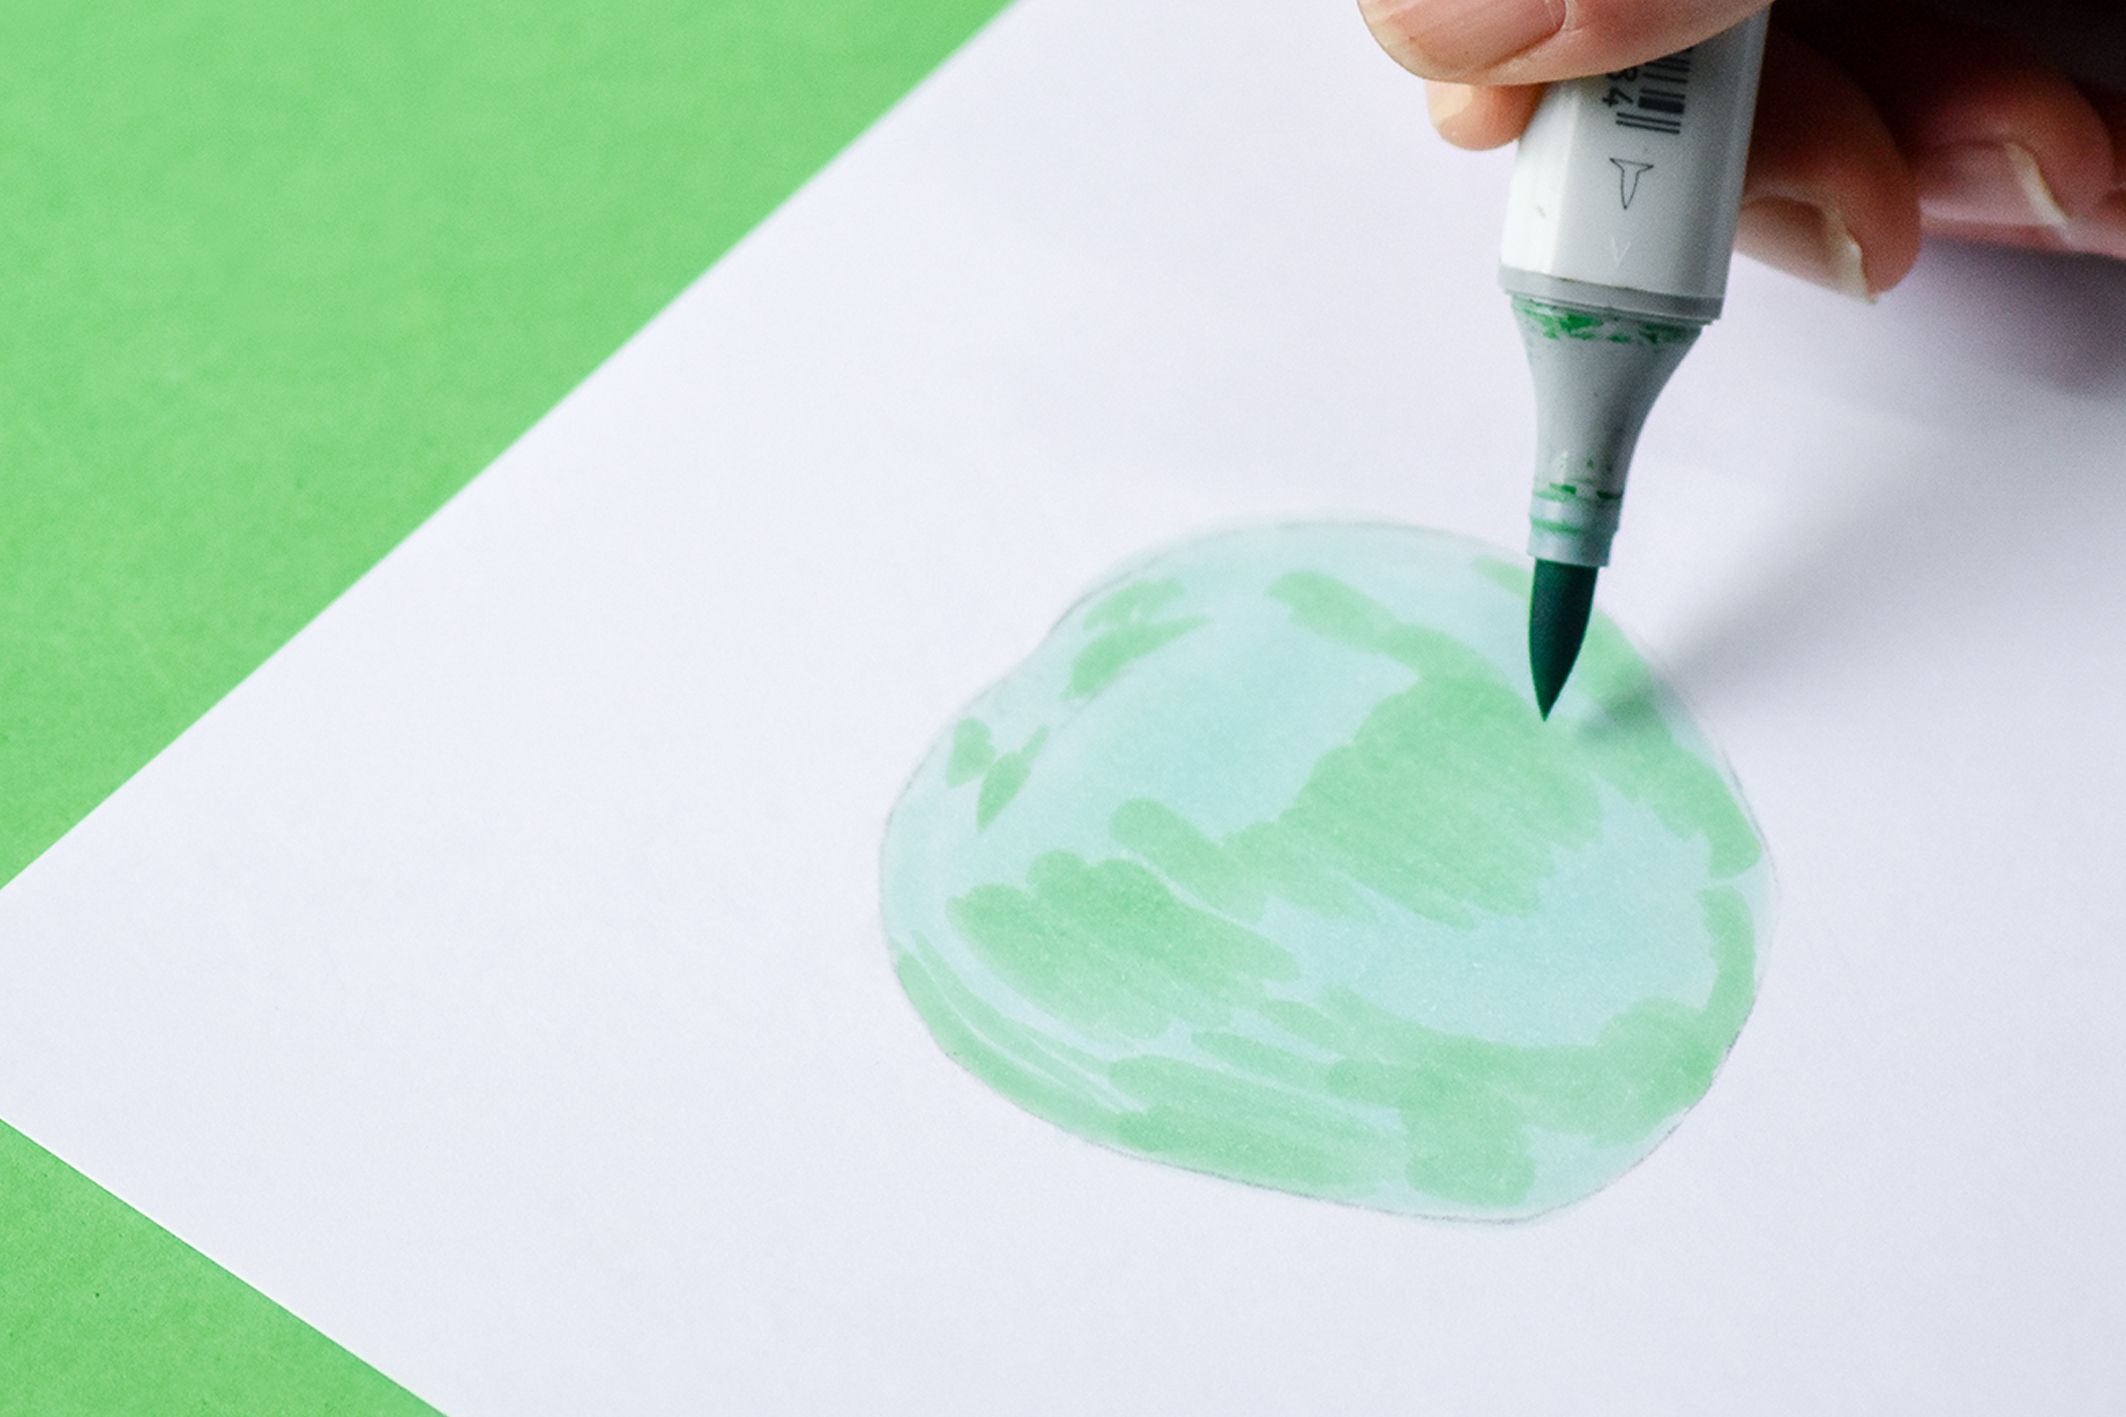
Step 3: Add the medium shade (G02) to areas of the image to be darkened. Leave some of the lightest shade visible, as those areas will become your highlights.
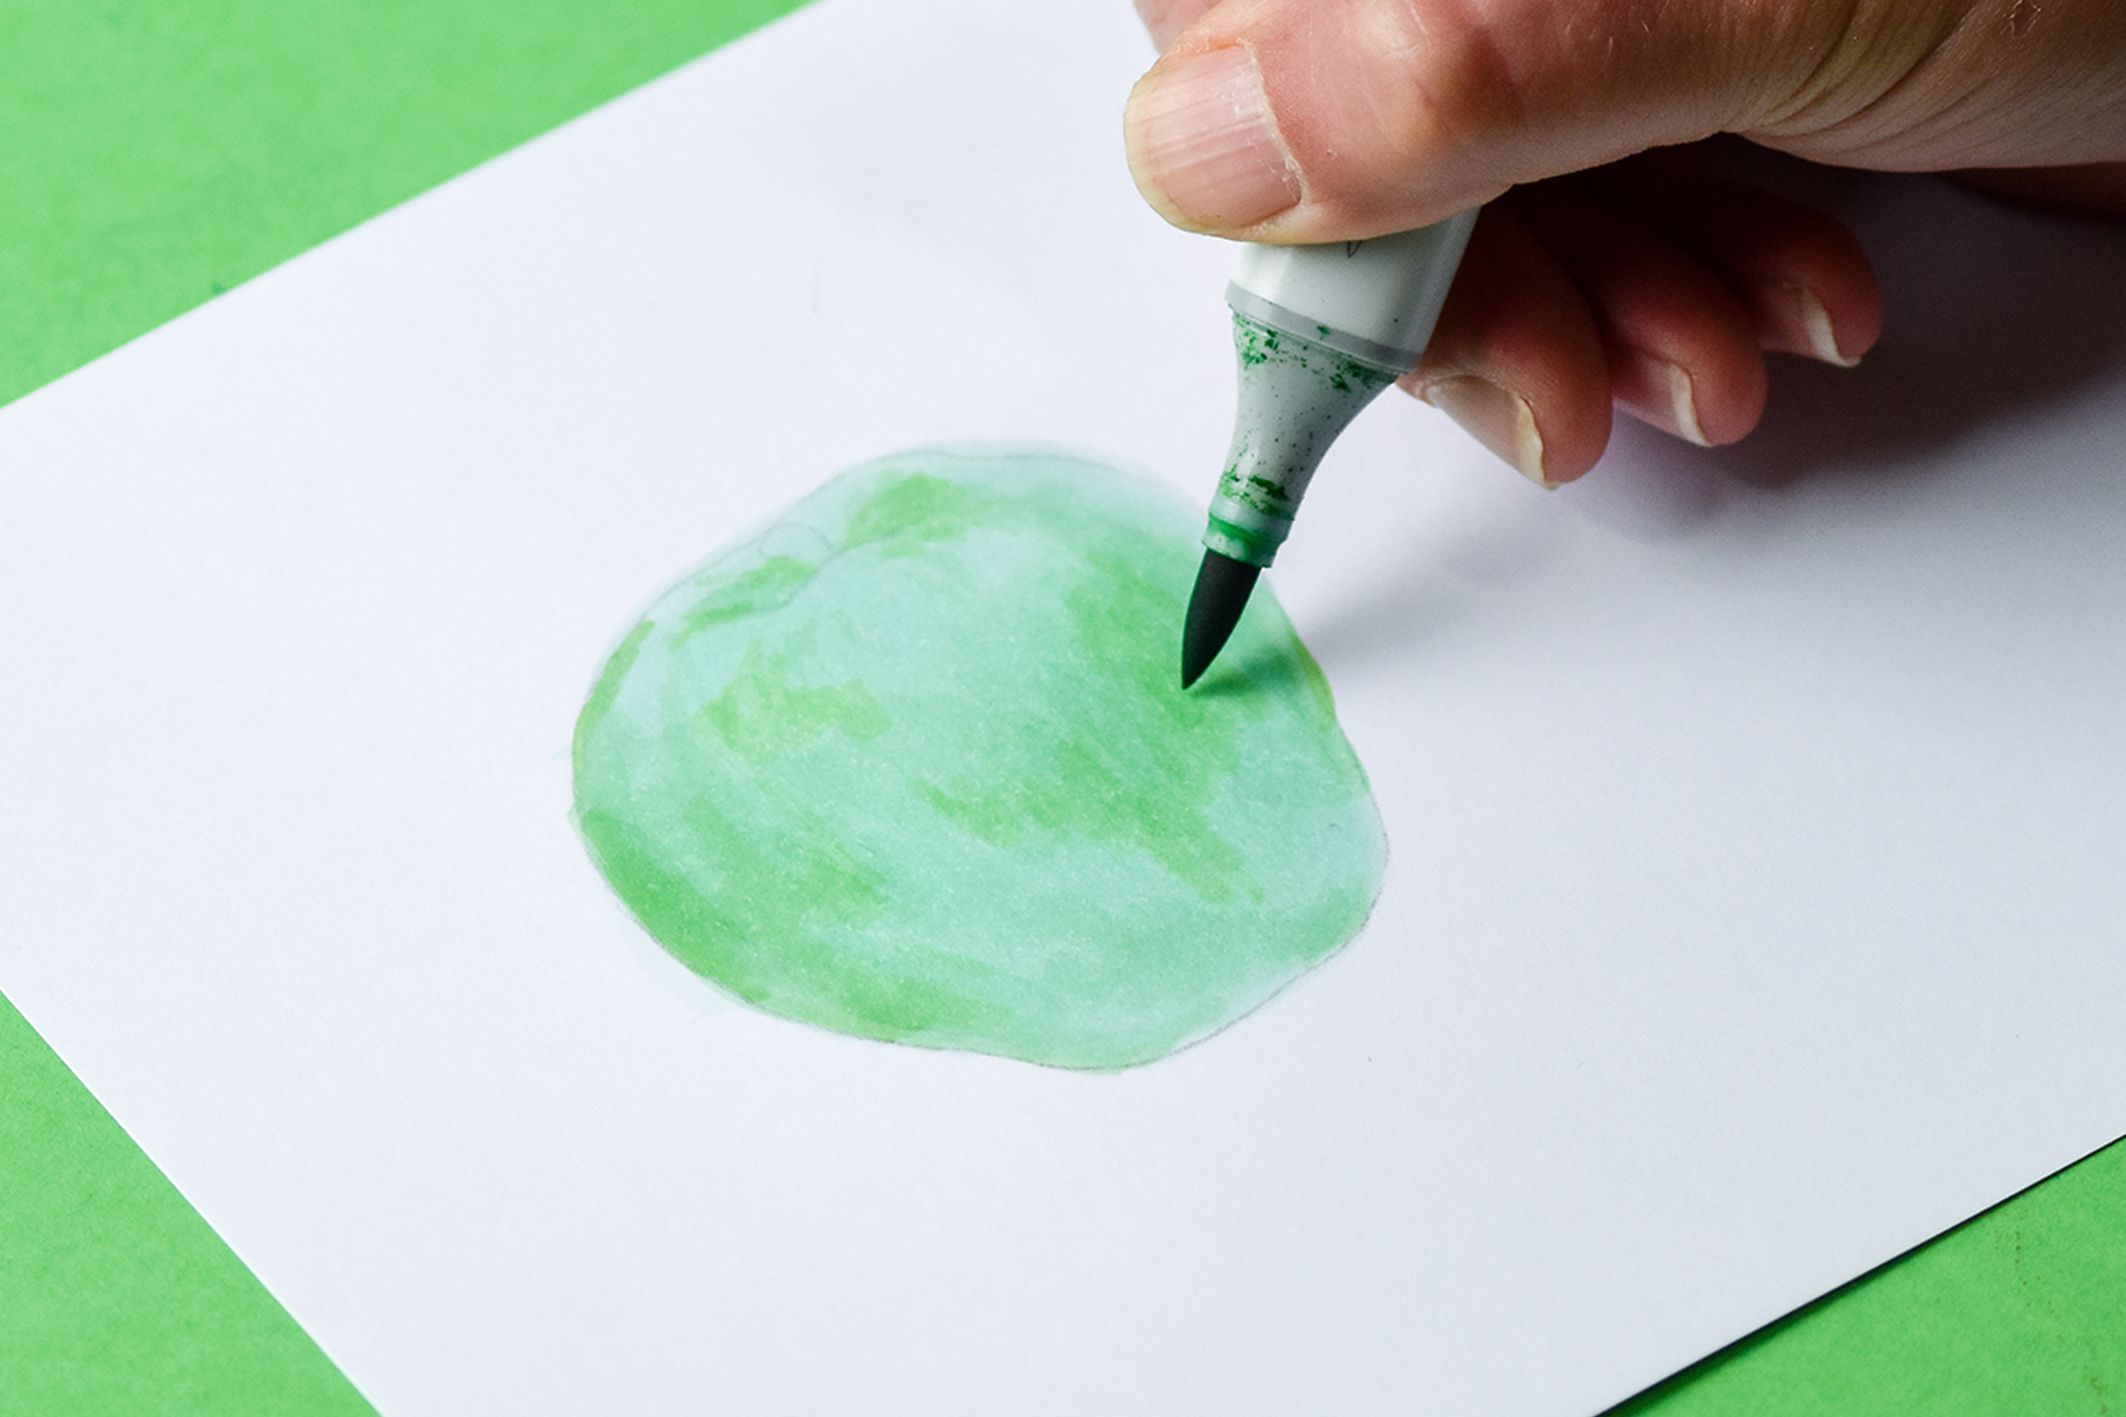
Step 4: Add the darkest shade (G05) to the areas of the image to be shadowed. Leave some of the medium and light shades visible.
Step 5: Begin the blending process. Using the medium shade Copic marker (G02), make small flicks or sweeping motions where the dark and medium shades meet. Do not go over the entire dark-shaded area or too far into the medium-shaded area.
Step 6: Blend the medium shade into the light shade with the light Copic marker (G00).


